The short answer
Crawl space encapsulation should preserve the inspection access required for the actual building and pest-control arrangement. Liners, rigid boards and spray foam can conceal termite entry paths when details are not coordinated. There is no single inspection-gap dimension that can safely be copied from every online example. Confirm the termination detail with the relevant local requirements and pest provider before the wall is covered.
US general planning; local code examples and manufacturer-specific requirements are identified where used.
Why the disagreement matters before installation
An insulation installer may focus on continuous thermal and air control, while a pest provider needs visibility of possible entry routes. Both concerns can be legitimate. Trouble begins when one scope is finalized without accounting for the other, leaving the owner to choose between removing new work and accepting an inspection limitation.
Ask each provider to identify the exact area they need and the reason for it. A general statement that “foam causes termites” is less useful than an explanation that a proposed layer would conceal a route the inspector must observe. Likewise, a claim that an encapsulated space is cleaner does not establish that all inspection needs disappear. The objective is a coordinated detail that controls moisture and heat while preserving the required ability to detect and manage pests.
Understand what insulation can conceal
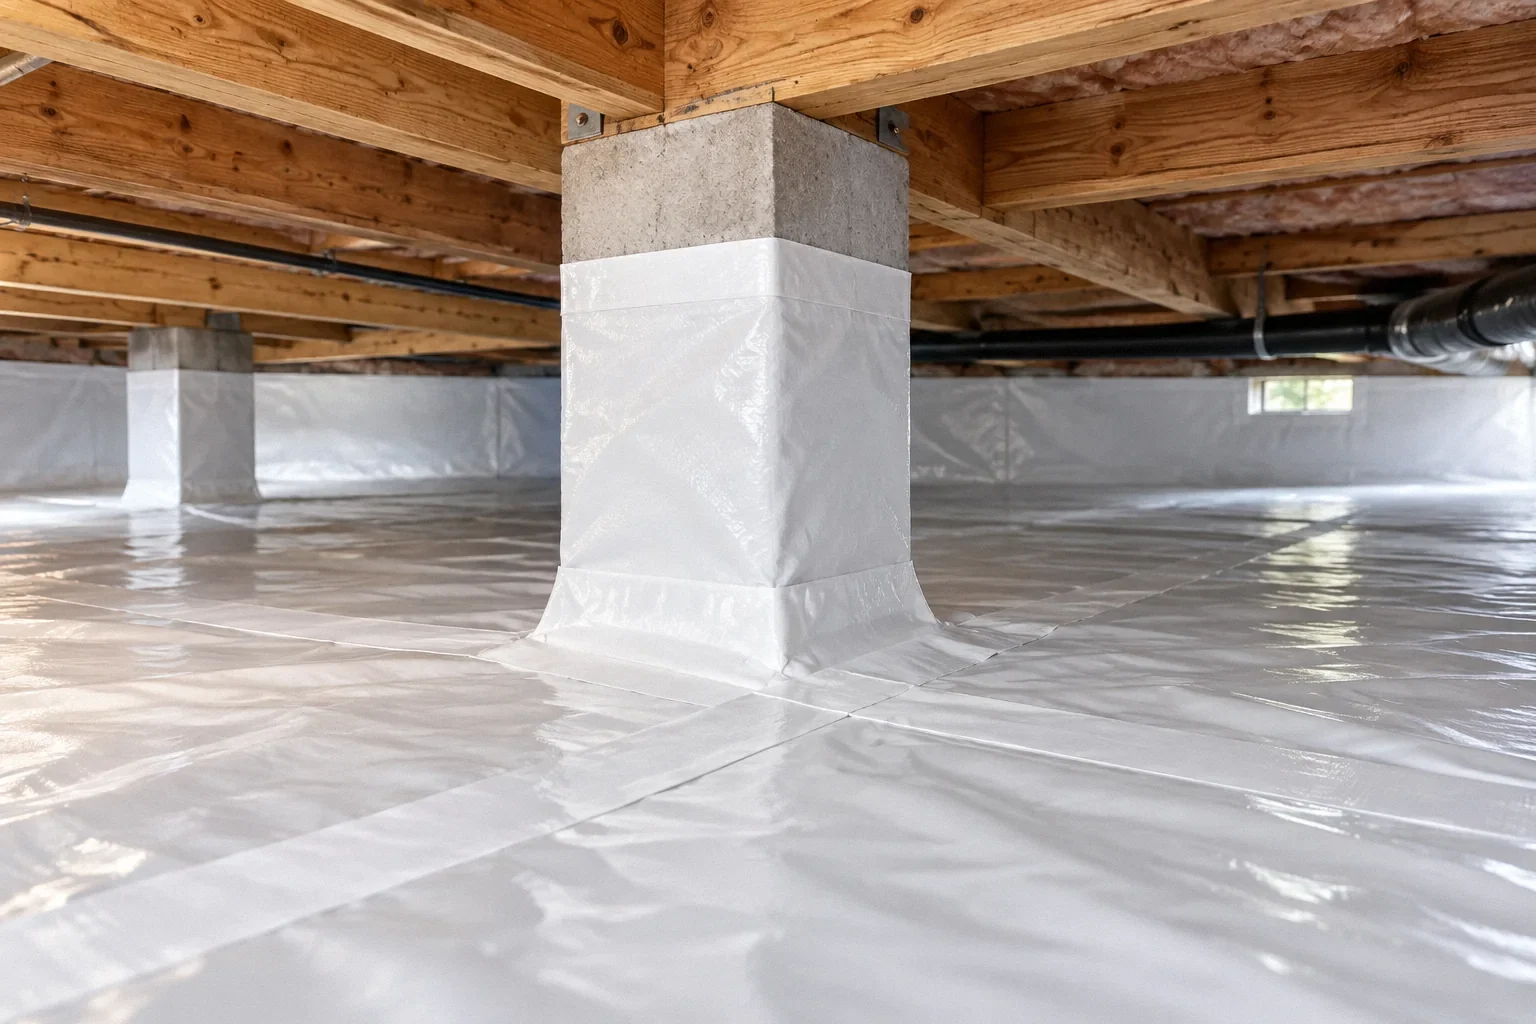
Termites can enter through routes that are difficult to see when materials cover the foundation-to-framing transition. An opaque liner or insulation board changes what an inspector can observe. Spray foam can be especially difficult to remove selectively, but the relevant question is the actual location and coverage, not simply whether the material is sprayed or supplied as a board.
DOE’s termite-resistant construction guidance treats pest resistance as part of the building enclosure and distinguishes its focus on subterranean termites. It does not turn every insulation product into a pest treatment. Ask whether the proposed work conceals existing evidence, bridges an intended inspection area or obstructs access to a treatment location. These questions should be answered before the installer begins attaching material, while changes to the detail are still straightforward.
Do not borrow a gap dimension from another house
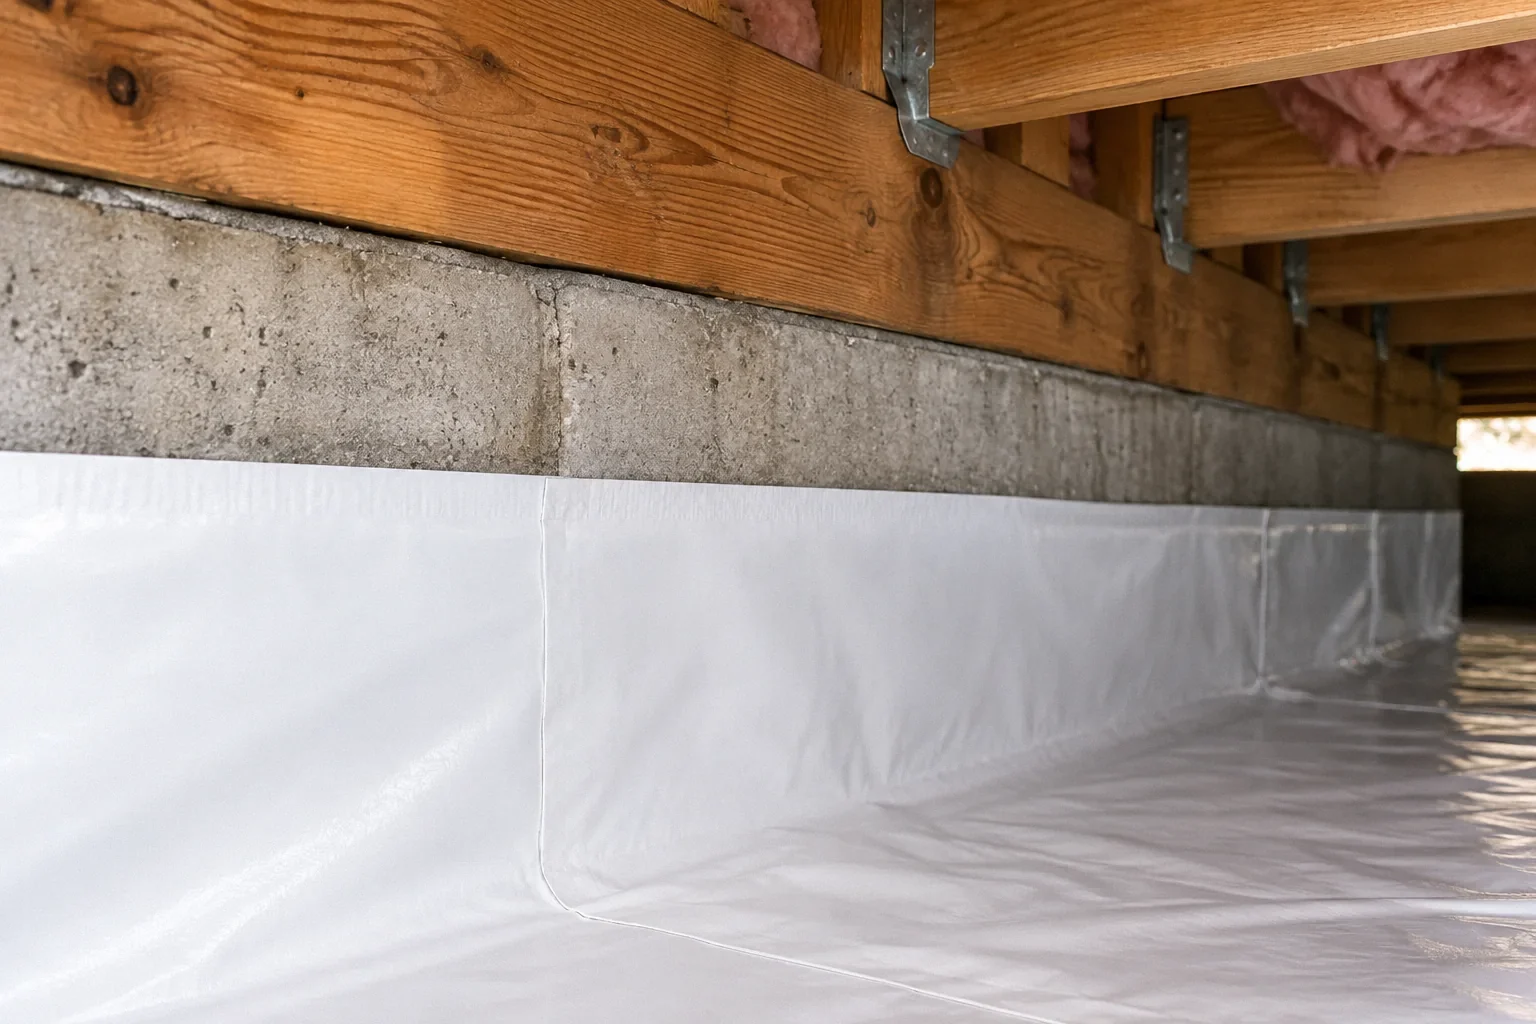
Online discussions often quote a three-inch or six-inch exposed strip. Such numbers can reflect a particular jurisdiction, pest-service condition or assembly. A homeowner cannot determine from the number alone whether the underlying requirement applies to a different house. Even the reference point for measuring a strip may be unclear in an informal description.
Get the applicable detail in a form both providers can understand: a sketch, an annotated photograph or a written description naming the surfaces and termination. DOE’s closed-crawlspace guide specifically calls for checking pest-inspection requirements alongside insulation and other safety considerations. Keep the current written pest-service terms available so the discussion addresses the actual service being provided. This does not mean every requested gap is automatically necessary; it means disagreements should be resolved against identifiable requirements rather than competing habits.
Coordinate the control layers around the inspection area
Leaving an inspection strip does not excuse an unexplained break in every other part of the enclosure. The designer should show where the liner ends, how insulation terminates and how air leakage is controlled while the relevant surface stays visible. Water moving through or over that area also needs consideration.
Review details at corners, supports, access doors and utility penetrations, where a simple straight-wall drawing may not represent the installed condition. Ask how damaged or disturbed material can be repaired without covering the inspection area later. If the pest provider cannot inspect a concealed location, record that limitation rather than assuming it is covered by a general visit. A coordinated drawing is useful because it shows the intent to future technicians who were not present when the original installer and inspector agreed on the arrangement.
Keep rodent exclusion and termite inspection distinct
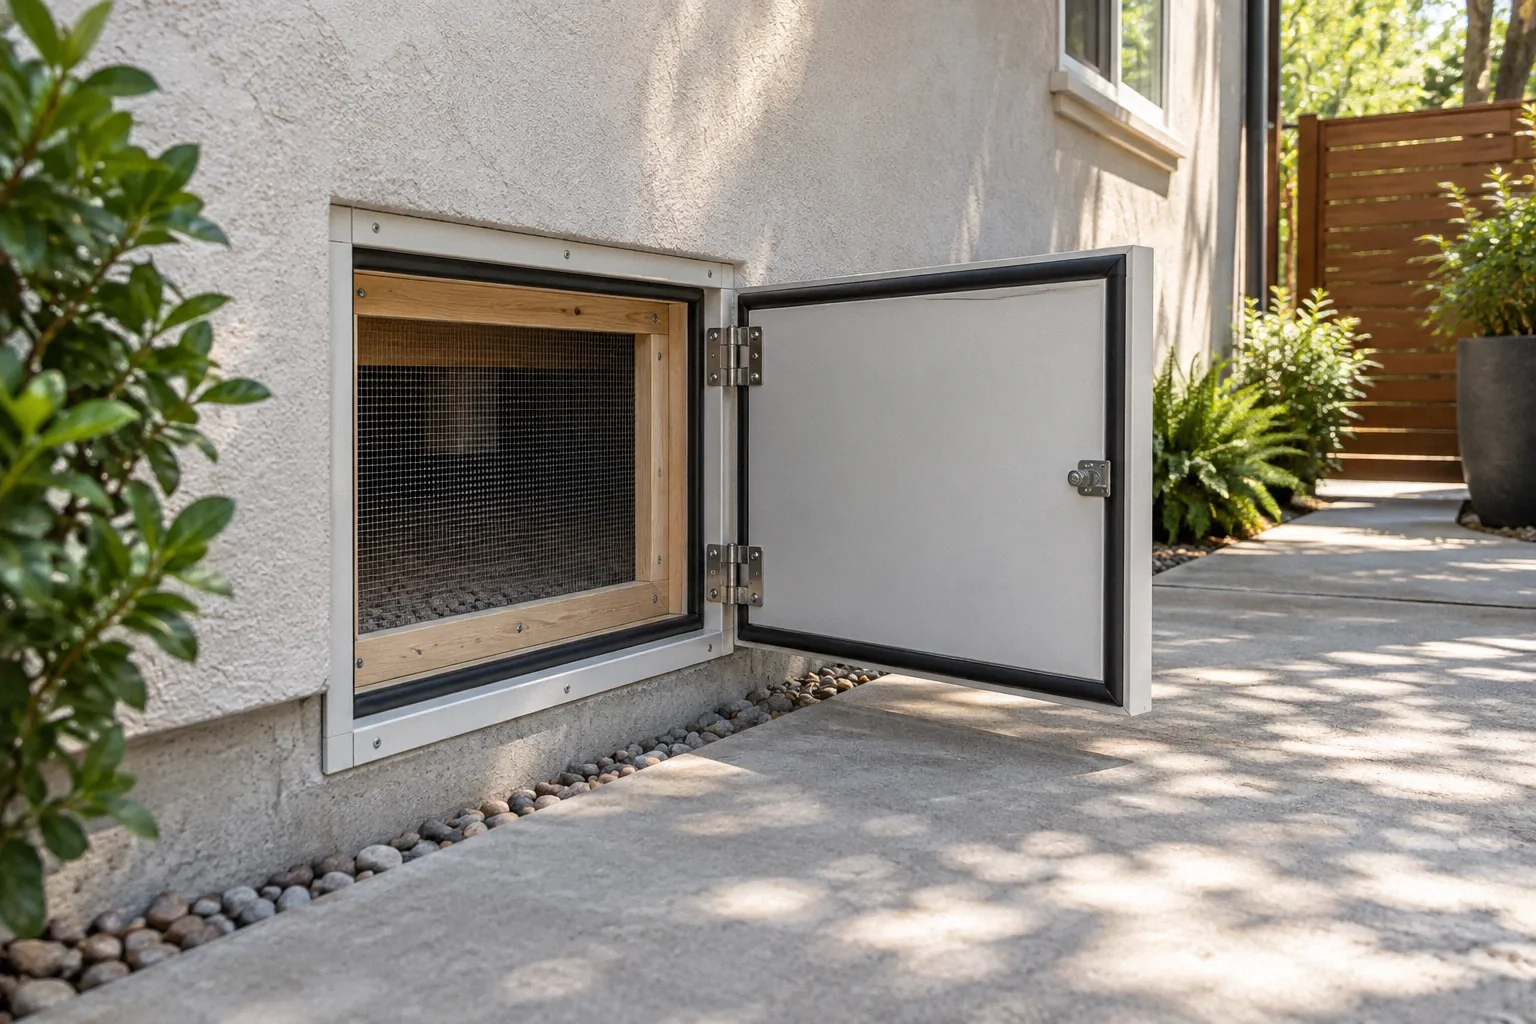
An exposed inspection area is not a reason to leave an open hole for rodents or rain. Different pests use different paths, and the appropriate response depends on the opening and the building component involved. The access door perimeter, vent screens and utility penetrations deserve their own review.
CDC’s rodent-exclusion guidance identifies crawlspace vents and service penetrations as places to inspect for gaps. Applying that guidance should not mean blocking required ventilation or flood openings indiscriminately. Ask for durable exclusion compatible with the opening’s function. Also avoid treating expanding foam alone as proof that a pest problem has been resolved. The completed space should remain accessible for inspection and equipment maintenance while unintended entry paths are addressed. Pest visibility and pest entry are different concerns that a careful detail can distinguish.
A hypothetical conflict over a finished wall
Imagine an owner authorizes foam on the crawlspace walls after receiving an encapsulation estimate. Only afterward does the pest provider say the coverage obstructs the inspection area required for continuing service. The owner now faces a dispute about whether to remove foam, modify the service or accept an inspection limitation.
The same conflict could have been addressed earlier by sending the proposed wall detail to the pest provider and asking for a location-specific response. A revised termination or another insulation approach might be considered, depending on the building. This hypothetical example is not a promise that one compromise always exists. It shows why coordination before concealment is materially different from asking for a warranty opinion after the work is finished. The evidence should be a shared detail, not an assumption that each trade knows what the other expects.
Record the detail and protect it during later work
At completion, photograph the inspection areas in relation to recognizable corners, doors and pipes. Keep those images with the liner and insulation product information. A short note identifying what must remain visible helps future plumbers, cable installers and maintenance technicians avoid patching over it unintentionally.
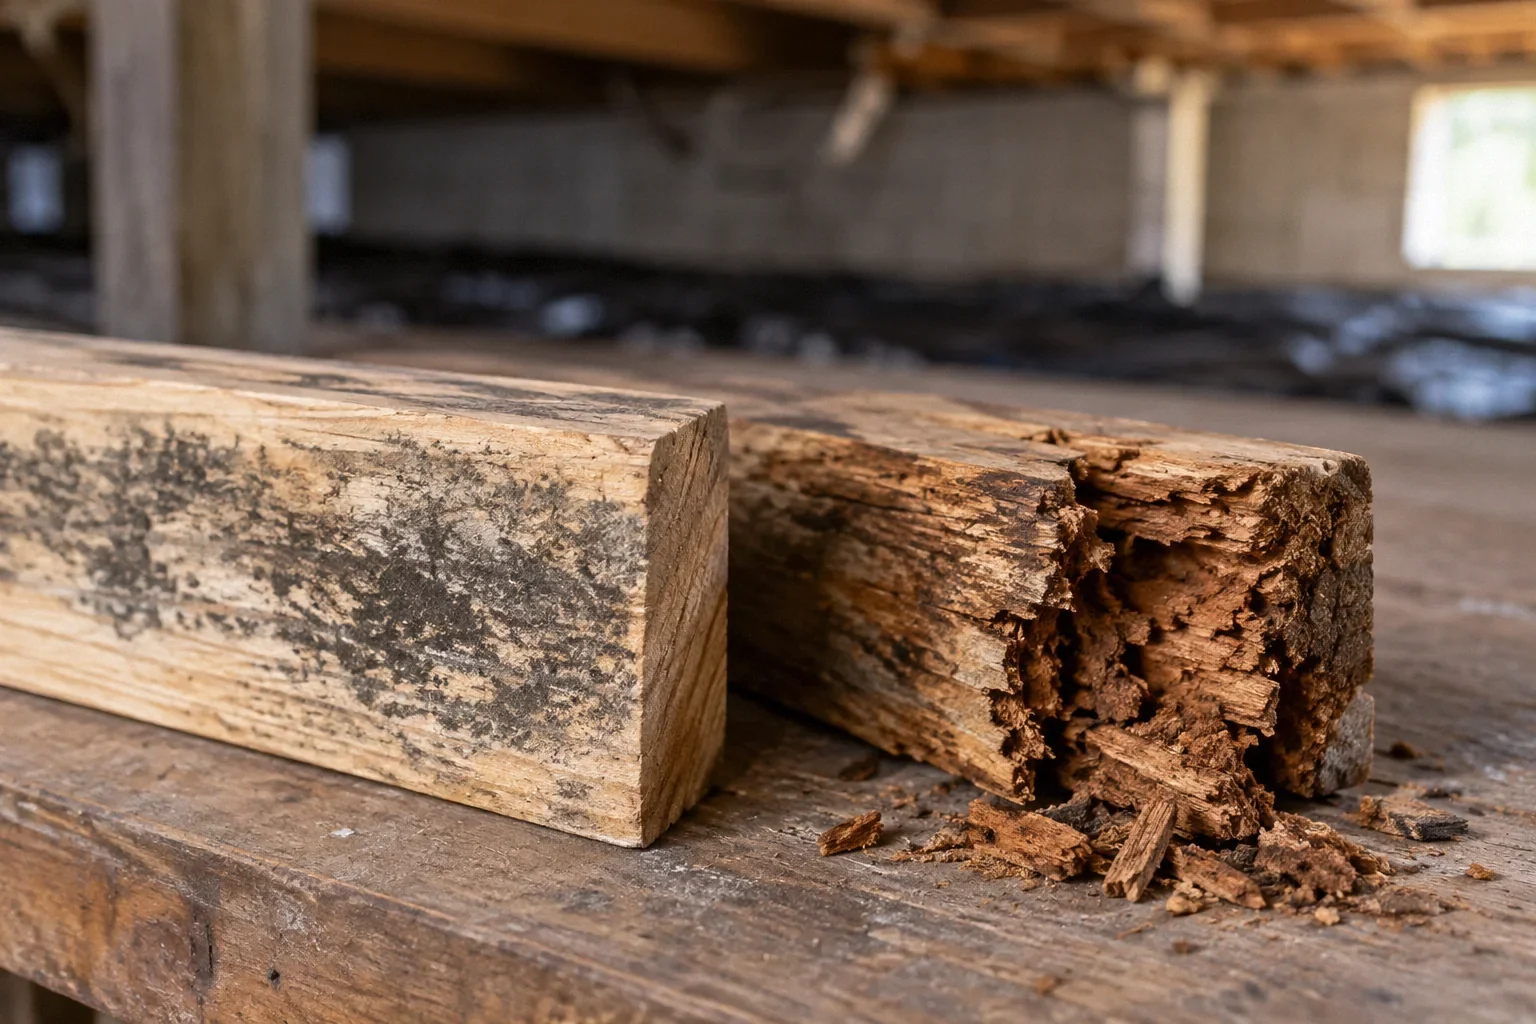
Arrange follow-up inspections according to the actual service and local circumstances. If a provider changes, give the new inspector the record and ask whether the existing arrangement creates any limitation. Revisit the detail after major plumbing, HVAC or enclosure work because access and visible surfaces can change. Moisture management also remains important; preserving an inspection strip does not make persistent damp wood acceptable. The useful outcome is an enclosure whose pest-resistance and inspection provisions remain understandable over its service life.
Before your next decision
- Obtain the proposed liner and insulation termination details.
- Ask the pest provider to mark required visible areas.
- Verify applicable local requirements instead of copying an online gap.
- Coordinate corners, penetrations and access openings.
- Photograph the agreed detail before handoff.
- Protect inspection visibility during future service work.
Related questions
Is spray foam a termite treatment?
No. Insulation and pest treatment have different purposes. A particular product claim or treatment should be evaluated on its own documentation; ordinary foam installation does not establish termite control.
Is a six-inch inspection gap always required?
No single gap should be assumed nationwide. Confirm the applicable local requirements, assembly detail and actual pest-provider conditions. Record where the dimension is measured and what must remain exposed.
What if the installer and pest company disagree?
Ask each to identify the location and requirement behind the position, then resolve the detail before installation. If necessary, involve the project designer or local authority rather than accepting an undocumented compromise.
Sources & further reading
- U.S. Department of Energy / Pacific Northwest National LaboratoryTermite-Resistant Foundations and Walls
Subterranean termite resistance integrated with building-envelope layers.
- U.S. Department of Energy / Pacific Northwest National LaboratoryUnvented, Insulated Crawlspaces
Closed crawlspace systems; construction guidance with multiple code editions, not proof of locally adopted code.
- Centers for Disease Control and PreventionHow to Seal Up to Prevent Rodents
Rodent exclusion, published April 8, 2024; reviewed live at the www URL.
Homeowner questions behind this article
These discussions informed the questions, not the technical answers. Some were available through indexed excerpts; votes and comments are not an engineering assessment.
Research method