The short answer
A crawl space vapor barrier limits moisture moving from the ground into the air above it. Performance depends on continuous coverage, sound seams, sealed penetrations and appropriate edge details, as well as durability. A thicker sheet may resist damage better, but thickness does not correct standing water or make an incomplete installation into full encapsulation. Review the complete detail before comparing material grades.
US general planning; local code examples and manufacturer-specific requirements are identified where used.
Decide what the ground cover is expected to do
Bare soil can supply moisture to a crawl space even when it does not look muddy. A ground vapor retarder separates that source from the air above it. The word retarder is useful because the aim is to restrict vapor movement through a defined layer, not to promise that every form of water has been excluded.
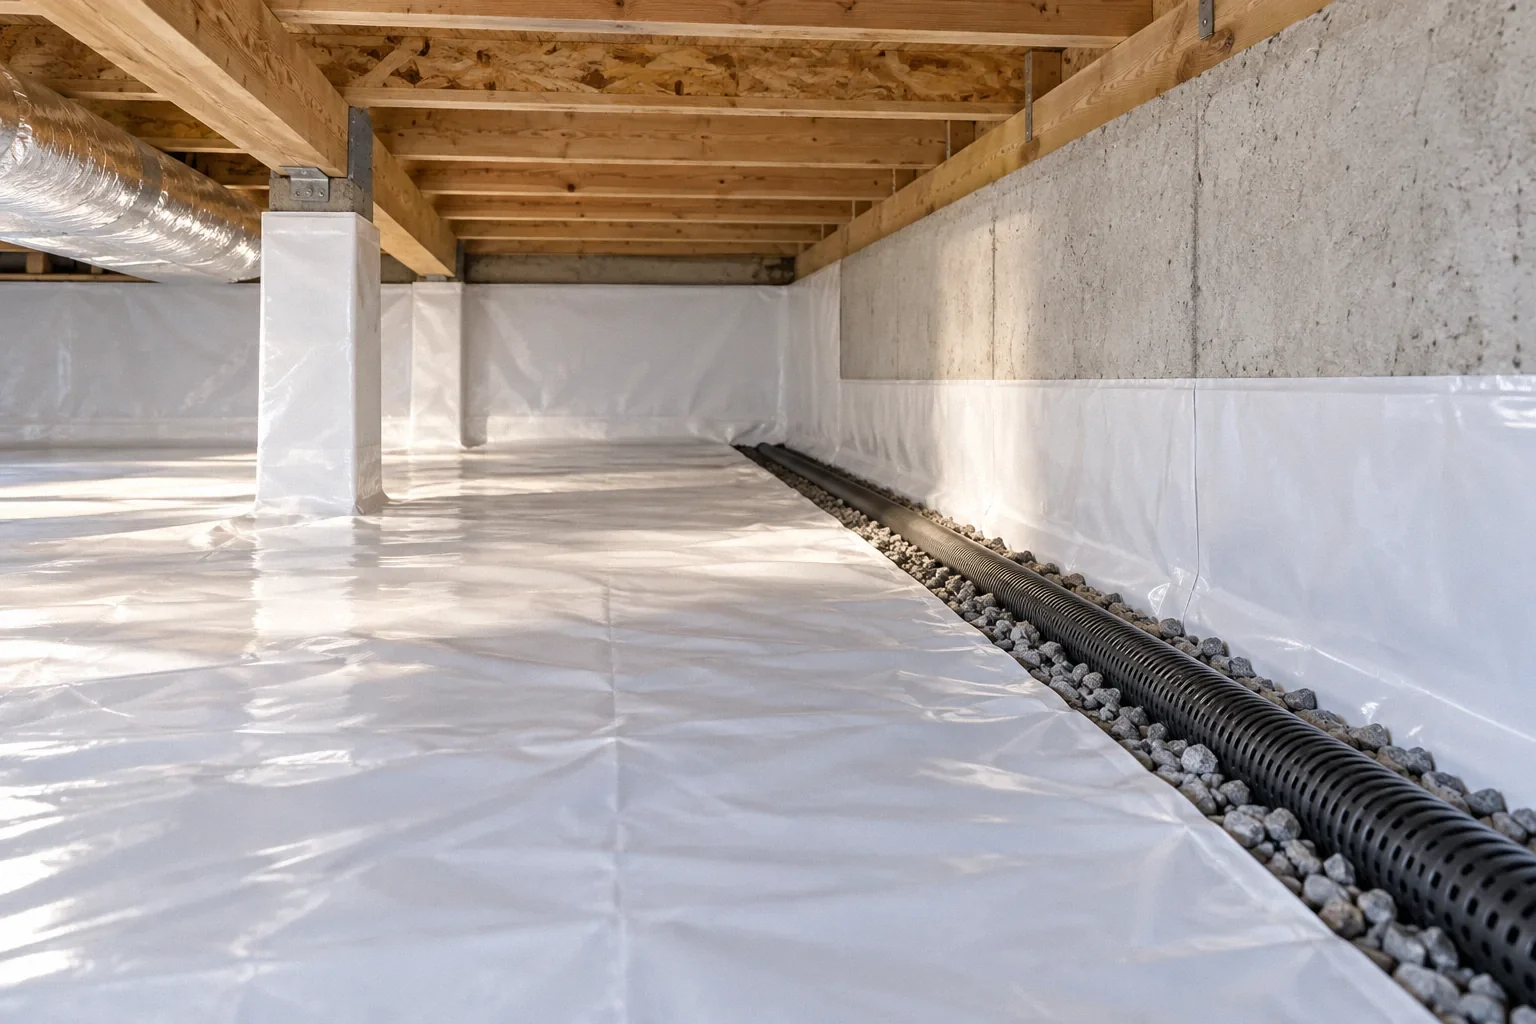
A basic ground-cover project may leave the space vented. A closed-space project generally includes additional work at walls, vents, penetrations, insulation and drying equipment. Ask the installer to identify which arrangement the proposal creates. Otherwise two offers can both say “vapor barrier” while describing substantially different work. Comparing only sheet thickness or a total price hides those differences. Start with a sketch showing the covered area and the connection to the rest of the building.
Separate vapor control from drainage
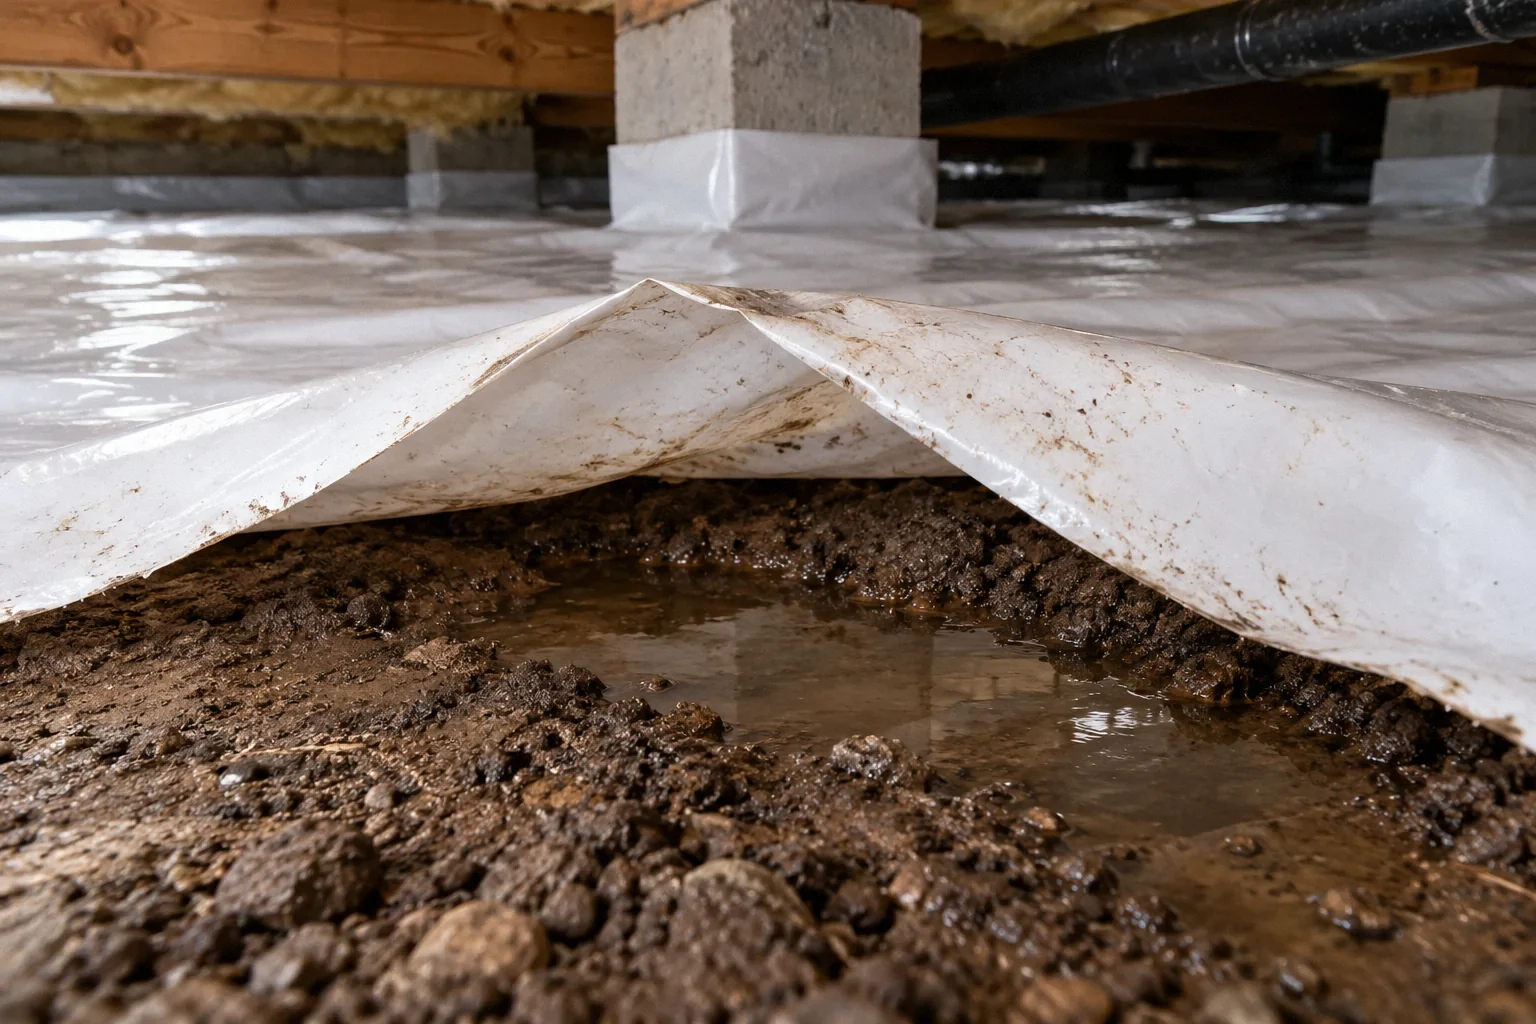
Water that runs across the ground, enters through a wall or rises into the crawl space needs a collection and discharge strategy. A membrane may conceal that water without removing it. It can also be damaged or displaced when water accumulates where its installation did not anticipate a liquid-water load.
DOE’s crawlspace floor retrofit guidance places drainage and moisture management before enclosure work. That sequence is relevant even when the owner only wants an inexpensive ground cover. Ask what evidence supports the conclusion that the ground is ready to cover. Photographs taken after rain, the condition of condensate outlets and any existing waterline are more useful than a statement that the area was dry on installation day. A liner should not prevent access to a sump or make a recurring leak harder to locate.
Inspect continuity before upgrading thickness
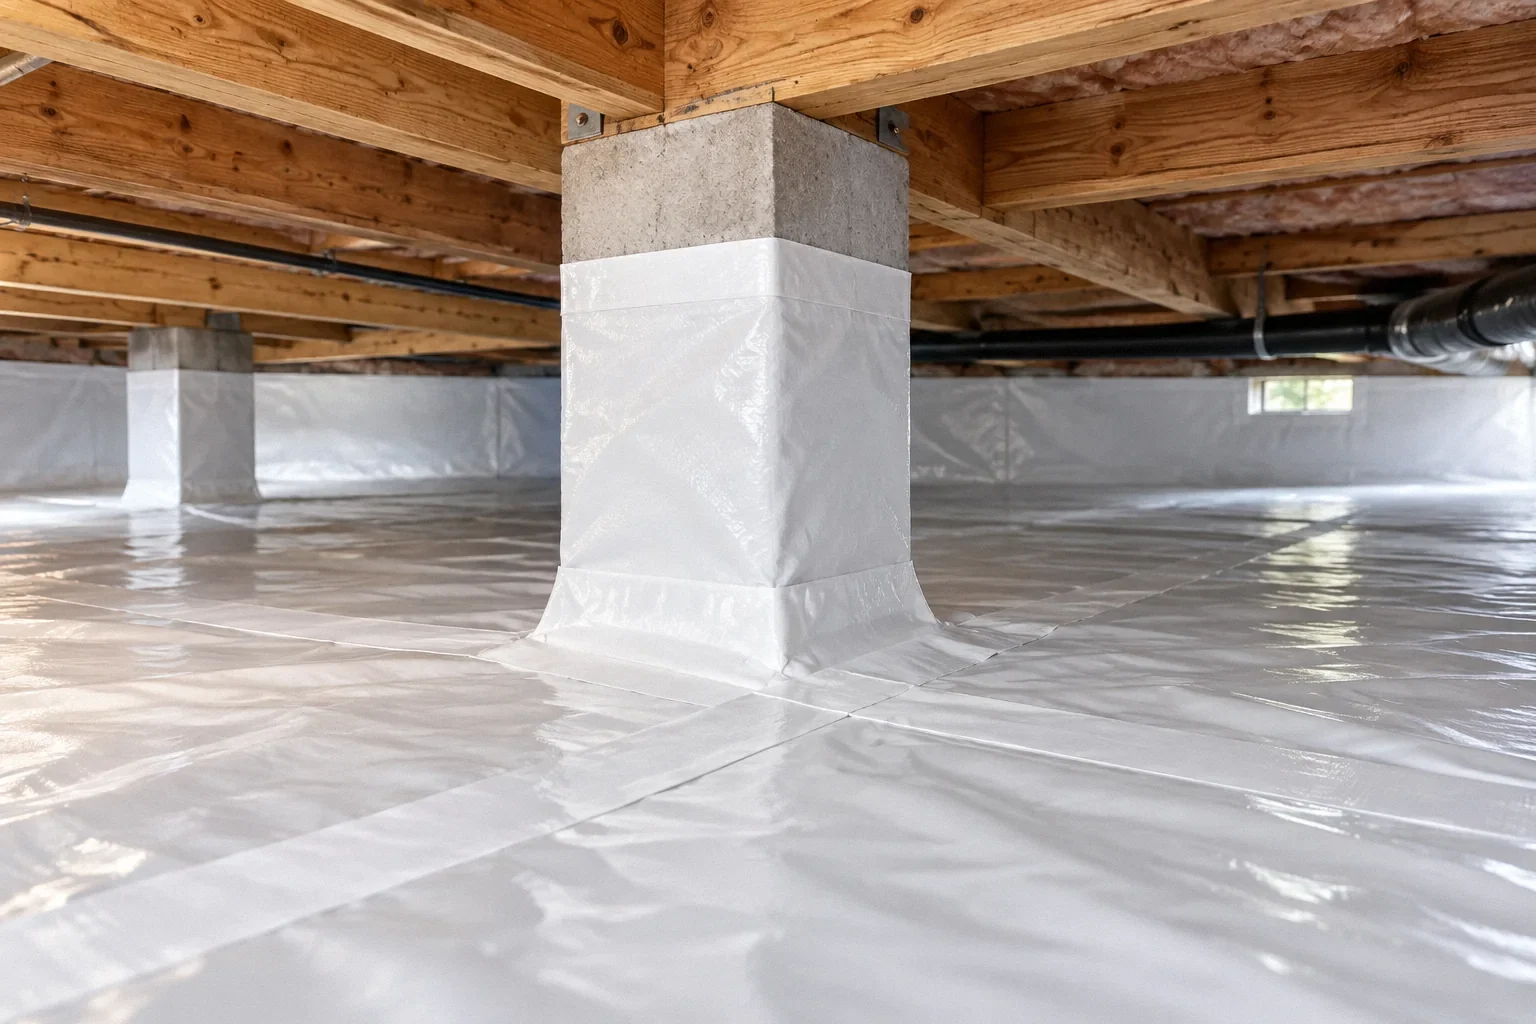
Begin with the whole footprint. Look for uncovered strips beside walls, displaced pieces at access paths, open seams and gaps around supports or plumbing. These are distinct from a small puncture in an otherwise continuous sheet. Photograph reachable defects and mark their approximate locations so the installer can explain how each will be addressed.
A thicker membrane does not make an unsealed seam disappear. Likewise, strong seam tape is only useful when it is compatible with the liner and applied under appropriate conditions. Dust, wet surfaces and incompatible materials can undermine a connection. Ask for the manufacturer’s seam and repair method, including how future service damage will be patched. The important deliverable is a maintainable control layer across the area, not simply a roll label with a large number printed on it.
Choose durability for the way the space is used
Crawl spaces vary in how often people enter and what lies beneath the membrane. A liner under a rarely visited area faces different wear from one along the route to a filter, water valve or sump. Edges, debris and repeated crawling can damage a sheet even when its vapor performance is adequate in a laboratory description.
Compare reinforcement, puncture resistance, compatible accessories and protection at service routes alongside thickness. Ask whether ground preparation is included and how the installer will handle sharp debris without disturbing structural supports or buried services. Do not interpret this as permission to excavate or level soil around footings yourself. The goal is to specify the installation conditions and traffic protection needed for durability. Keep the product identification so a later repair uses the correct material instead of an unrelated household tape.
Read wall and support details in context
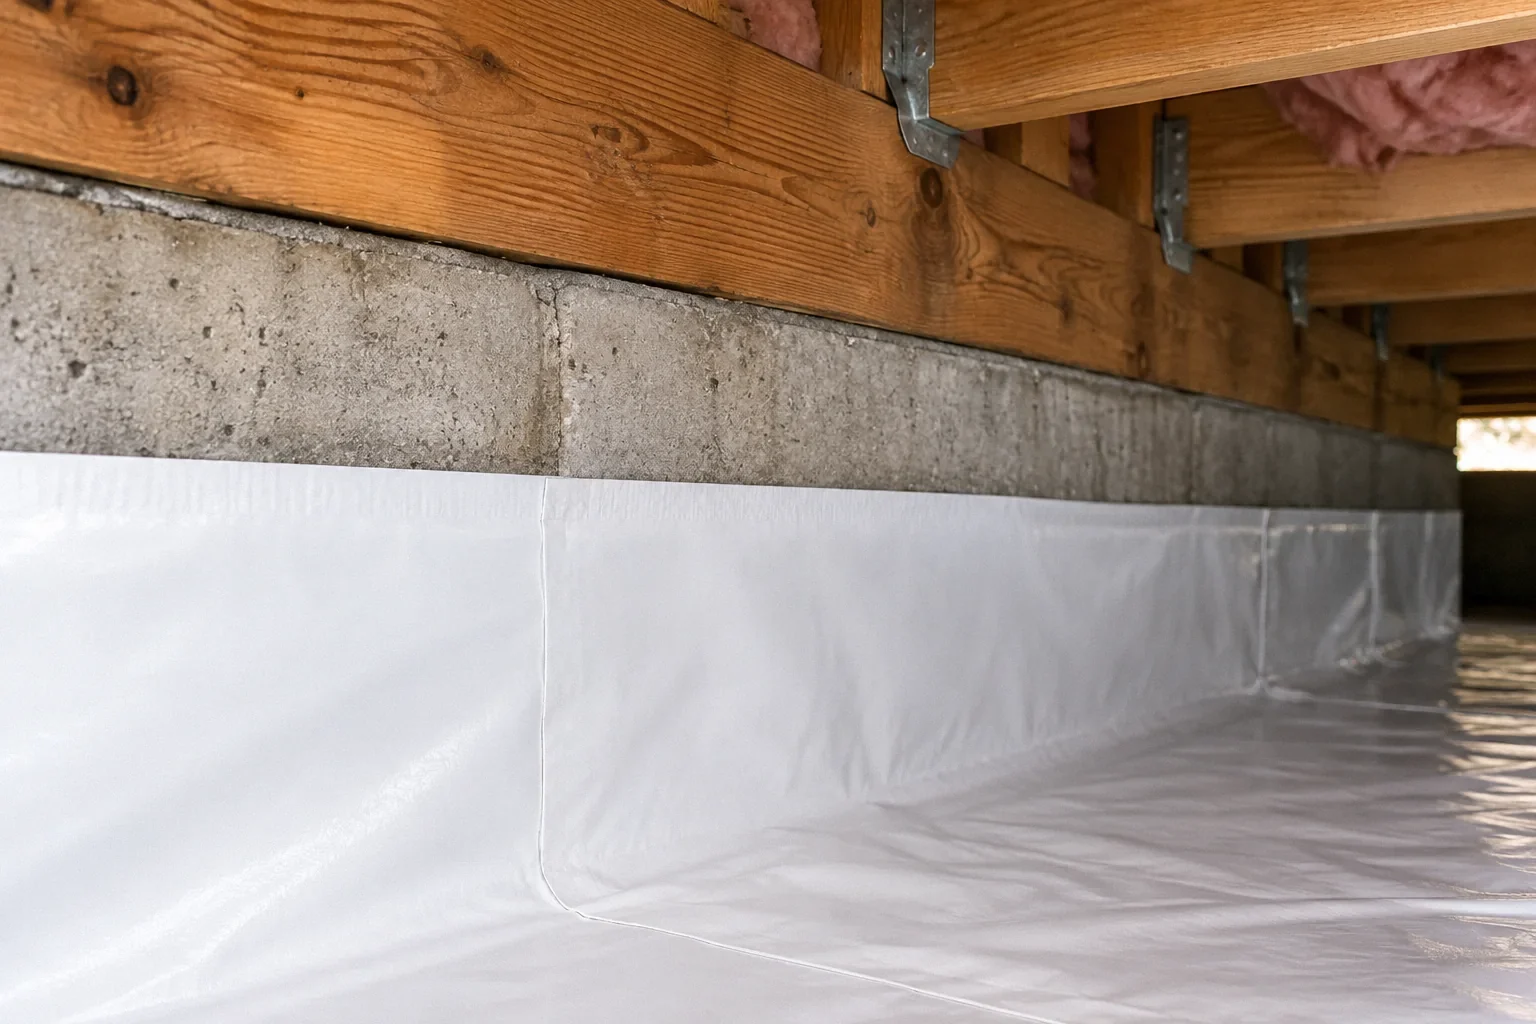
DOE’s closed-crawlspace guidance illustrates a continuous liner connected to perimeter construction, but details differ among assemblies and programs. One quoted overlap or wall height should not be detached from the design it belongs to. A liner terminating below an inspection strip can be intentional; an unsealed ground edge may instead be an incomplete installation.
Have the proposal show the attachment and termination at walls, columns, pipes and access openings. Ask how these details integrate with insulation and how they remain inspectable. DOE’s termite-resistant construction guidance explains why pest resistance must be coordinated with the enclosure layers. A liner should not hide an area that needs inspection without resolving that conflict. Require the installer and pest provider to agree on the actual detail rather than selecting a gap because an online commenter used it elsewhere.
A hypothetical comparison of two liner offers
Imagine one offer includes a thick reinforced sheet on the ground, while another includes a thinner specified membrane with sealed seams, wall attachments and penetration details. It would be premature to choose solely by thickness. The first may provide better traffic durability but omit essential connections; the second may have better continuity but need protection where equipment is serviced.
A useful comparison asks each installer to show the same five things: prepared area, membrane product, seam method, perimeter connection and service route. Then add any separate drainage or dehumidification work to the comparison. This is not a claim that thin material is preferable. It shows why material grade and installation scope answer different questions. The chosen system must meet both the intended moisture-control function and the expected conditions below the house.
Check the installation before it becomes routine
Review the completed work while the installer can still explain the details. Compare the installed product with the recorded specification, and check reachable seams, penetrations and terminations against the agreed sketch. Photograph the access route and important service points. Confirm that valves, cleanouts, sump covers and pest inspection areas remain reachable.
Keep a small maintenance record for future plumbing, cable or HVAC work. A technician who opens a seam should know how it must be restored. After a wet period, look for recurring liquid water or unusual liner movement from a safe location. Those observations deserve investigation even if the room-air humidity is lower. A liner is a building component with connections that can change over time; treating it as permanently finished makes small service damage easier to overlook.
Before your next decision
- Map exposed soil, torn areas and accessible wet spots.
- Separate the liner scope from drainage and active drying.
- Compare continuity and durability as separate requirements.
- Record the exact membrane, tapes and attachment details.
- Coordinate wall terminations with termite inspection.
- Photograph service routes and keep compatible repair information.
Related questions
Does a thicker liner make the crawl space waterproof?
No. Thickness primarily concerns the membrane’s material properties and durability. It does not establish drainage, stop plumbing leaks or complete missing seams. Liquid-water sources need their own assessment.
Does the membrane have to go up every wall?
The required detail depends on whether the project is basic ground coverage or a designed closed enclosure, along with local and pest-inspection requirements. Ask for the complete attachment and termination detail rather than relying on one universal height.
Can existing torn plastic stay underneath?
That depends on cleanliness, drainage and the new system’s instructions. Old material can conceal debris or water paths. Have the installer explain what remains, why it is acceptable and how the new layer will be inspected and repaired.
Sources & further reading
- U.S. Department of Energy / Pacific Northwest National LaboratoryWater Management of Existing Crawlspace Floor
Existing crawlspace moisture retrofit; not excavation instructions for homeowners.
- U.S. Department of Energy / Pacific Northwest National LaboratoryUnvented, Insulated Crawlspaces
Closed crawlspace systems; construction guidance with multiple code editions, not proof of locally adopted code.
- U.S. Department of Energy / Pacific Northwest National LaboratoryTermite-Resistant Foundations and Walls
Subterranean termite resistance integrated with building-envelope layers.
Homeowner questions behind this article
These discussions informed the questions, not the technical answers. Some were available through indexed excerpts; votes and comments are not an engineering assessment.
Research method