The short answer
Plan basement insulation as a continuous assembly against and around the concrete, before locating the stud wall. Resolve water entry and evaluate drying first, then choose materials and framing details that control contact with cold surfaces and connect at the rim and slab. The right assembly depends on climate, existing construction, fire protection and local requirements; cavity insulation alone does not resolve every condensation path.
US general planning; local code examples and manufacturer-specific requirements are identified where used.
Start with the boundary of the finished room
A framed wall can look complete while leaving the concrete behind it outside an effective thermal and air boundary. Warm room air can reach cold surfaces through gaps, and individual framing members can bridge otherwise insulated areas. Begin by deciding which parts of the basement will be within conditioned space, including storage rooms, stair enclosures and mechanical areas. An isolated finished corner still needs a coherent boundary.
The DOE guide to air-sealed and insulated basements describes basement wall insulation in the context of conditioned space and moisture control. Mark the proposed boundary on a plan before selecting products. Show where it meets the first-floor assembly, slab, doors and any partition leading to an unconditioned area. This drawing exposes interruptions that a simple estimate of square feet of insulation misses.
Resolve wet concrete before concealing it
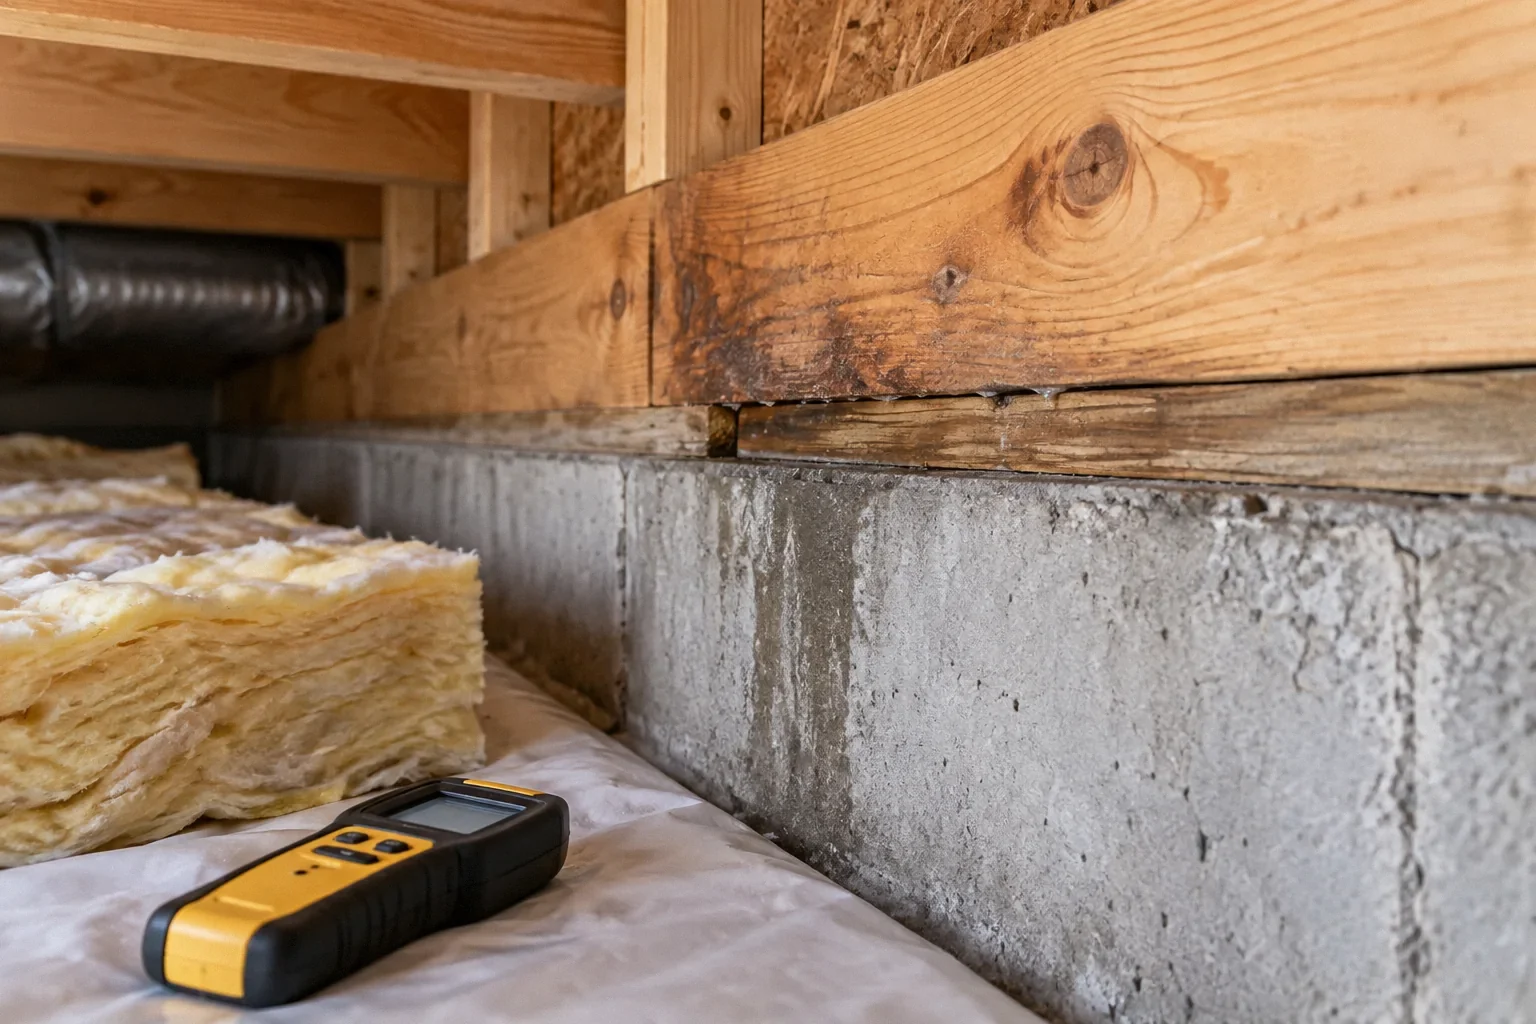
Wall insulation is not a substitute for controlling liquid water. Review the basement during and after wet weather if possible, and record damp bands, efflorescence, seepage and the condition of existing finishes. Ask whether the observed problem is surface condensation, water moving through the enclosure, a plumbing leak or a combination. Those causes lead to different corrective work.
Concrete can also contain or receive moisture without an obvious puddle. The DOE discussion of basement blanket insulation explains why the interaction of concrete, fibrous insulation and restricted drying can matter. Do not convert a dry-looking day into permission to bury an unresolved history behind a new wall. Establish the water-management scope and a way to assess drying before construction closes access. A coating or insulation product should have a stated role in that scope, rather than being treated as a universal cure for a damp basement.
Choose the assembly before buying cavity insulation
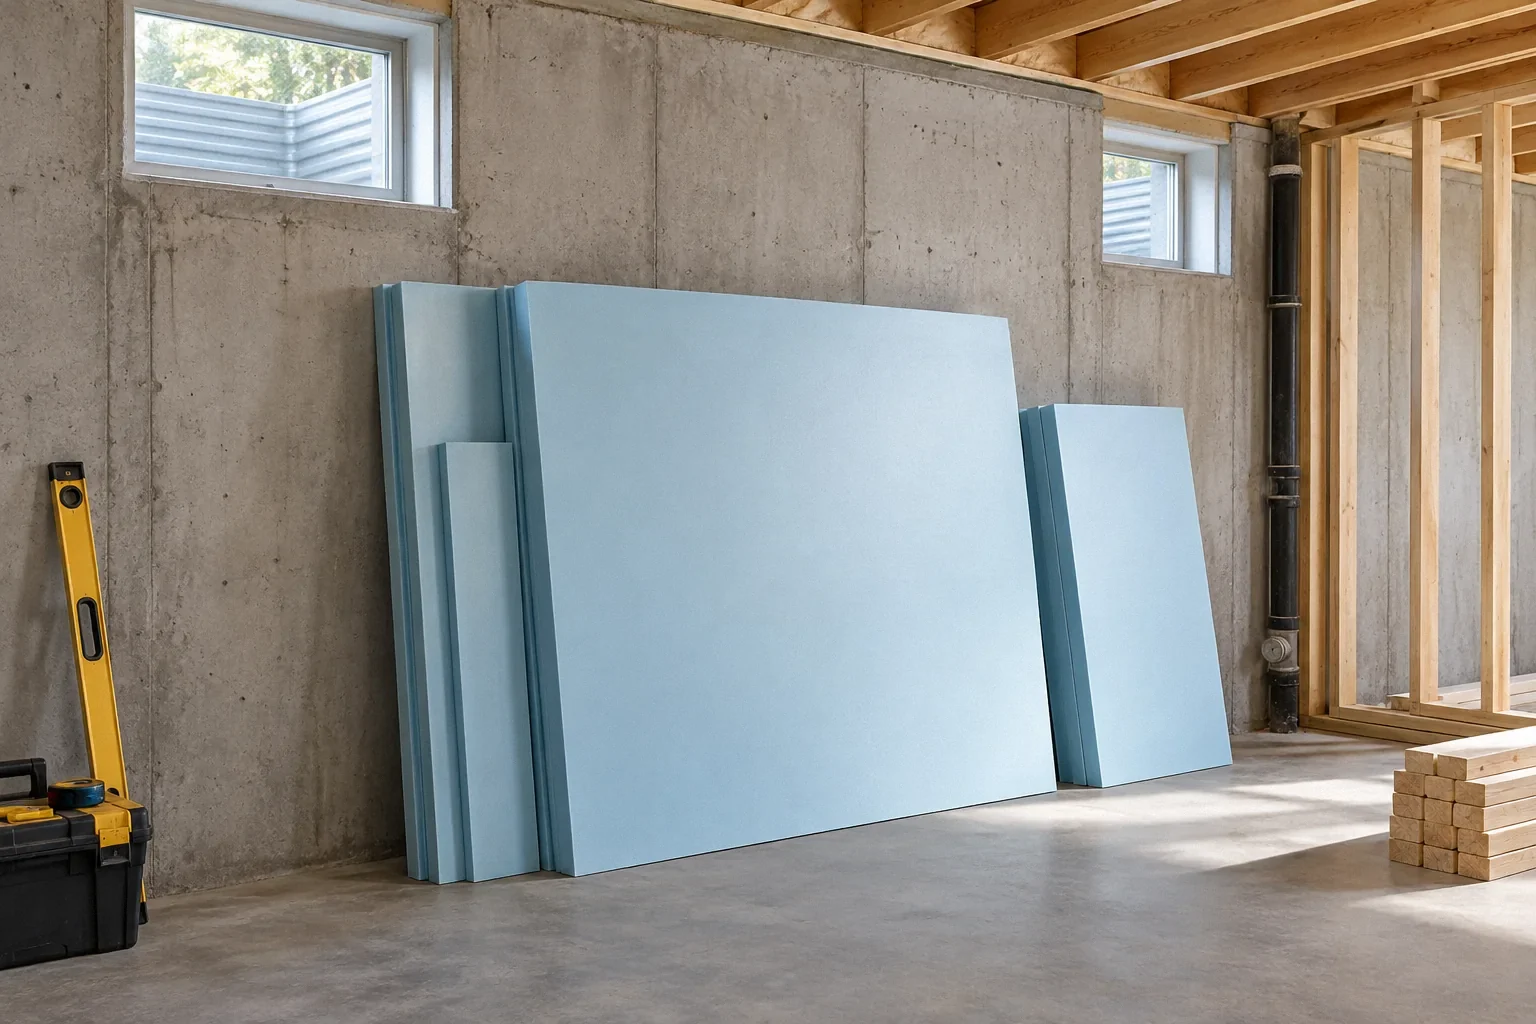
The central design question is how the assembly limits air contact with cold concrete while managing heat flow and moisture. Depending on conditions and approved materials, the design may use a continuous insulation layer, an insulated framing system or another evaluated arrangement. A material's advertised R-value alone does not tell you whether seams, edges and penetrations will function as intended.
Compare proposed assemblies using the same questions: Where is the air-control layer? What keeps susceptible materials away from persistently damp concrete? Which direction can the assembly dry? What protects exposed insulation from fire as required? How will electrical boxes and services fit? Ask the designer or contractor to identify the installation instructions that support those answers. Avoid assembling a wall from unrelated details taken from several manufacturers; a plausible collection of materials is not necessarily a compatible system.
Draw the transitions that usually get missed
A section through the middle of a wall is only the easy portion. At the top, insulation and air control need a deliberate connection to the rim area. At the bottom, the wall meets the slab and any floor insulation or vapor-control layer. Around windows, doors and service entries, continuity can be interrupted by wood bucks, gaps or narrow spaces that are hard to reach after framing.
The DOE guidance on existing sill beams and sill plates adds an important limit: insulation and air sealing around old wood supported by masonry can reduce a previous drying path. Check the wood and water exposure before specifying that transition. Ask for drawings or marked photographs of corners, the rim, the slab edge and each type of opening. These are practical construction instructions and inspection locations, not decorative details added after the main insulation has been purchased.
Coordinate framing, services and fire protection
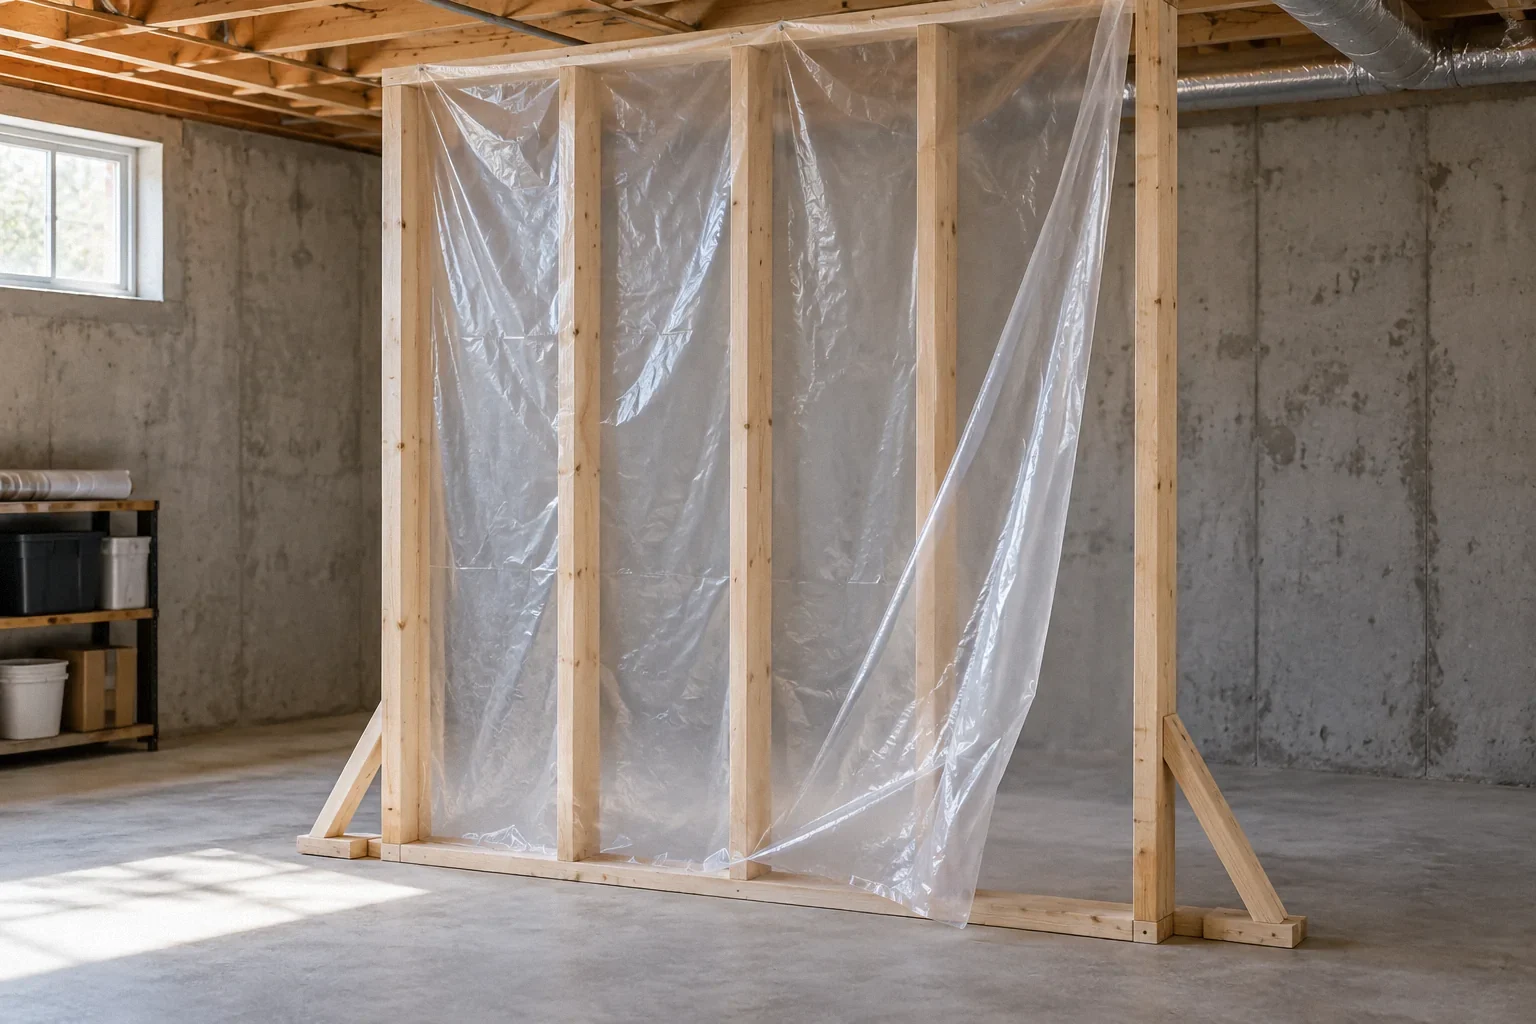
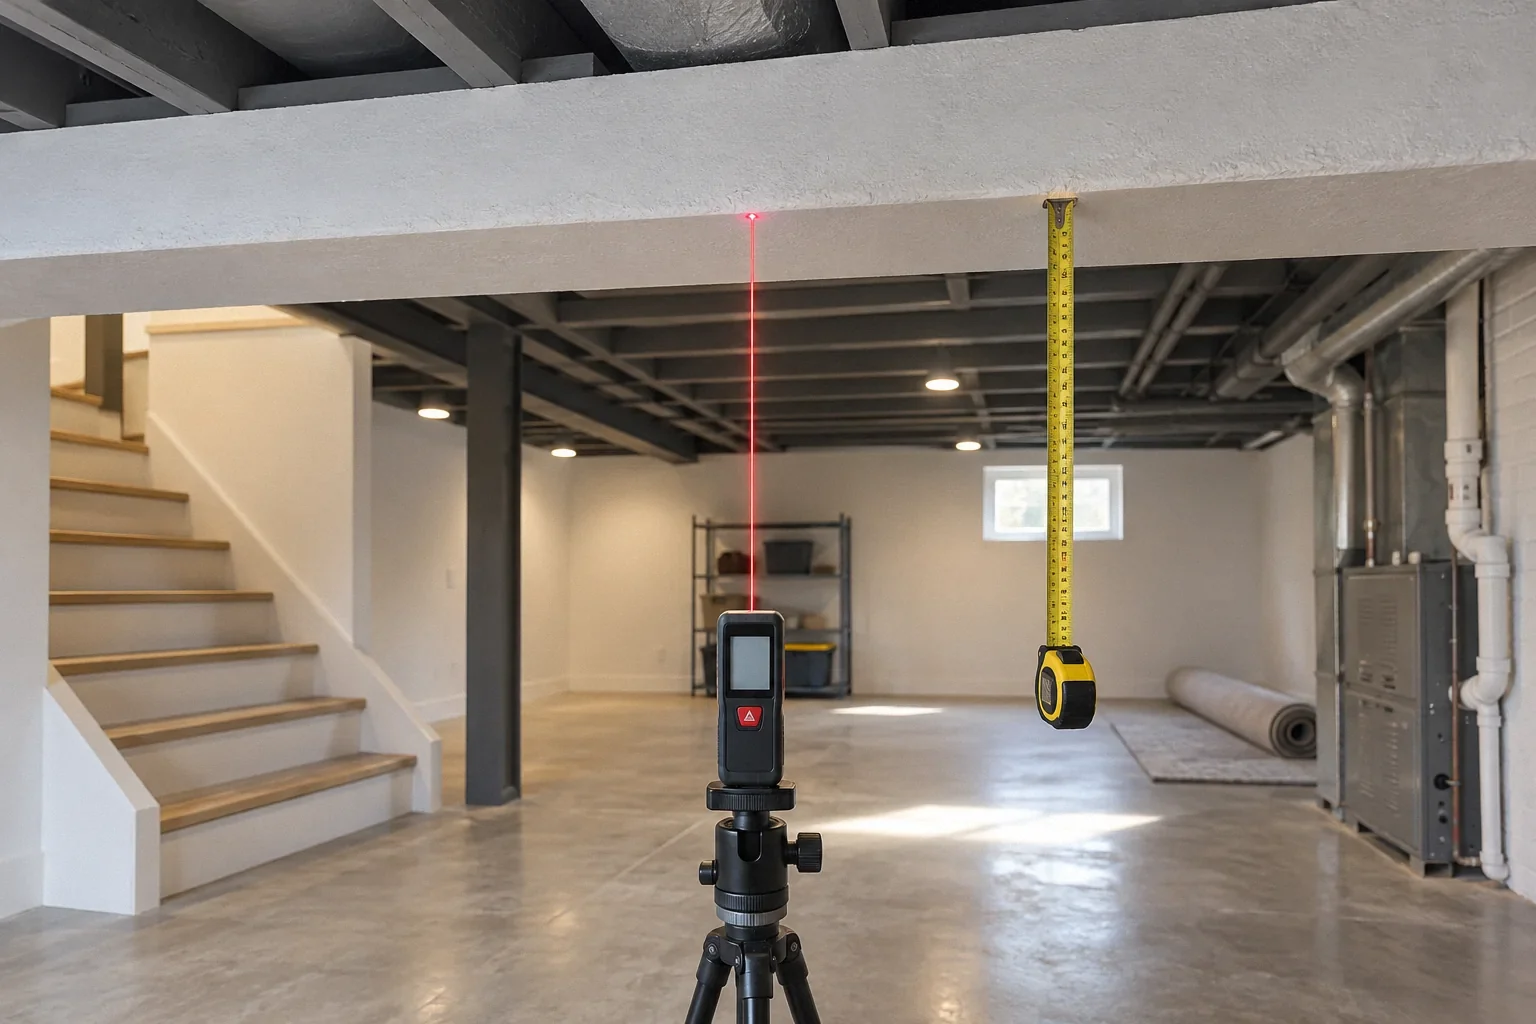
Set the framing line only after accounting for insulation thickness, wall straightness, service space and the required finished room dimensions. A bowed concrete wall can change clearances along its length. Framing placed too early may force insulation gaps or make a proposed continuous layer impossible behind posts and utilities. Preserve access to shutoffs, cleanouts and equipment rather than assuming small removable panels can solve every conflict.
Confirm the required protective covering for the selected insulation and location with the applicable code and product documentation. Foam products and assemblies do not all have identical exposure approvals. Coordinate the order of inspection, air sealing and finish installation so work can be checked while it is visible. Photographs of the concealed assembly should show transitions and penetrations, not only broad views of uniformly covered wall areas.
A hypothetical remodel that changes at the rim
Imagine a homeowner planning a basement family room with framed exterior walls and a suspended ceiling. The initial sketch calls for filling stud cavities, but a closer review finds a bare strip of concrete above grade, discontinuous insulation behind a utility chase and stained wood at the rim. Simply adding more cavity insulation would leave those conditions unresolved.
The revised scope begins with investigation of the rim stain and exterior water path. It then identifies a continuous thermal layer at the concrete, a compatible air-sealing method and a service zone that can be built without puncturing every transition. The ceiling layout preserves equipment access and follows the completed rim detail. This hypothetical example illustrates why the assembly should be decided before the wall location. It does not prescribe one insulation product or thickness for every basement.
Use a pre-drywall acceptance checklist
Before finishes hide the work, walk the basement against the agreed assembly drawing. Look for missing coverage behind obstructions, incomplete edges, unsupported materials, unsealed penetrations and conflicts with drainage or inspection access. These observations do not replace required inspections, but they make discrepancies easier to discuss while correction remains possible.
Keep product names, installation instructions, relevant approvals and photographs with the renovation records. Record any site change that replaced one layer with another, because a substitution may affect drying, fire protection or compatibility. A useful completion record explains what was built and how it connects, rather than stating only an insulation R-value. Once occupied, investigate new odors, staining or condensation instead of assuming a finished wall is permanently protected. Thermal performance and moisture performance remain related, but they are not interchangeable measurements.
Before your next decision
- Define the conditioned-space boundary on a plan.
- Document water history before concealment.
- Identify each layer and its intended function.
- Draw rim, opening and slab-edge transitions.
- Coordinate service access and insulation protection.
- Photograph the completed assembly before drywall.
Related questions
Can fiberglass go directly against a basement concrete wall?
That is not a complete moisture-safe design by itself. Review the full assembly, including air contact with concrete, drying, material placement and local requirements.
Should I frame first and choose insulation later?
Choosing the assembly first is more reliable. The insulation and service details affect wall location, clearances and access to transitions.
Does continuous insulation eliminate every moisture problem?
No. It can address thermal continuity within an appropriate assembly, but bulk water, existing wet materials and incompatible vapor layers still need separate evaluation.
Sources & further reading
- U.S. Department of Energy / Pacific Northwest National LaboratoryAir Sealed, Insulated Basements
Basement thermal boundary and insulation assemblies; details must fit moisture and fire requirements.
- U.S. Department of Energy / Pacific Northwest National LaboratoryBasement Blanket Insulation
Moisture behavior of fibrous basement wall insulation.
- U.S. Department of Energy / Pacific Northwest National LaboratoryWater Managed Existing Sill Beams and Sill Plates
Older porous foundations and wood sill drying, especially during insulation retrofits.
Homeowner questions behind this article
These discussions informed the questions, not the technical answers. Some were available through indexed excerpts; votes and comments are not an engineering assessment.
Research method